Rustic No-Knead Bread
0February 16, 2018 by Sarah
I had the weirdest nesting instincts when I was pregnant with Lucia. All I wanted to do was bake bread. Lots of bread. Maybe it was avoiding sorting through all the big bins of newborn clothes that were stacked in my room. Maybe it foretold Lucia’s future career as a baker. Whatever it was, the urge for bread fresh from the oven, pushed me to engage with and conquer my fear of yeast. I have another post on the way with links to the handful of breads that I made that were good starters to learning how to bake bread, but I wanted to start with a recipe for this rustic no-knead bread. This one is by far the easiest, so easy that I’ve made it a number of times with a newborn, including while holding her in the ergo and having a toddler and preschooler assist. Proof below. 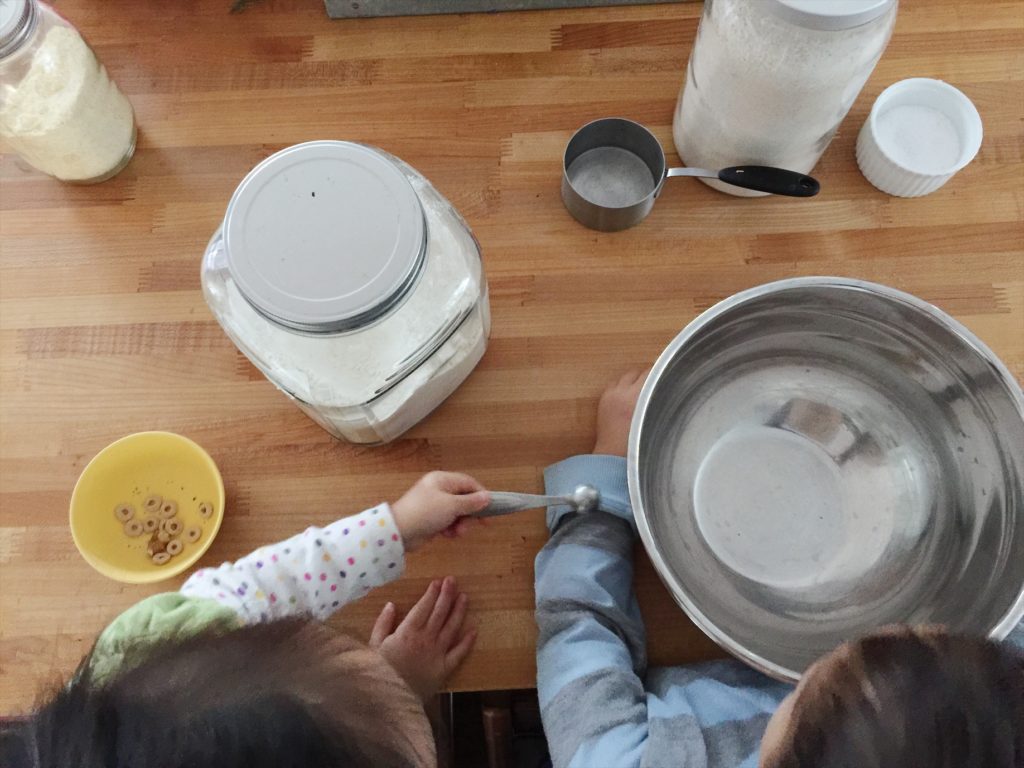 Before I get to the recipe, there are two really important things about working with yeast that I learned along the way. First, the temperature of the liquid that you start the yeast in is super important. Many recipes will say to use warm water, that means 110-115 degrees Fahrenheit. A few years ago we bought a digital thermometer which we use all the time. It makes such a difference with getting things like meat and dough just right.
The other key is knowing that rise time will fluctuate depending on the temperature of where you put your dough. It will rise faster if it’s in a warm spot, longer if it’s cool. When baking in the winter and fall, I’ve found that I need to wait about double or more of the rising time indicated in a recipe.
If you want to speed up the rising process, one trick I learned here is to place a 9×13 pan on the bottom rack of an oven. Fill it about an inch or so with boiling water, place your dough on the top rack, and close the oven door. It becomes a cozy little sauna.
Below is the recipe for the bread that I’ve made the most in these last few months. This is the recipe I started with. It calls for regular white flour but after doing some substituting, I found that I much preferred it with some whole wheat and ground cornmeal in the mix. The bread needed some texture, which those grains added.
We’ve done anything and everything with this bread. We love it freshly baked with good butter and honey, we use it for sandwiches, as a stand in for a baguette, and when it gets a few days old, it’s awesome for french toast.
Rustic No-Knead Bread, adapted from Baker Bettie.
1 package active dry or rapid rise yeast (2 1/4 tsp yeast)
2 cups warm water (110-115 degrees)
3 cups all purpose flour
1 cup whole wheat flour
1/3 cup ground cornmeal
2 teaspoons kosher salt
Pour the warm water into a large bowl, sprinkle the yeast over the top and give it a stir with a wooden spoon.
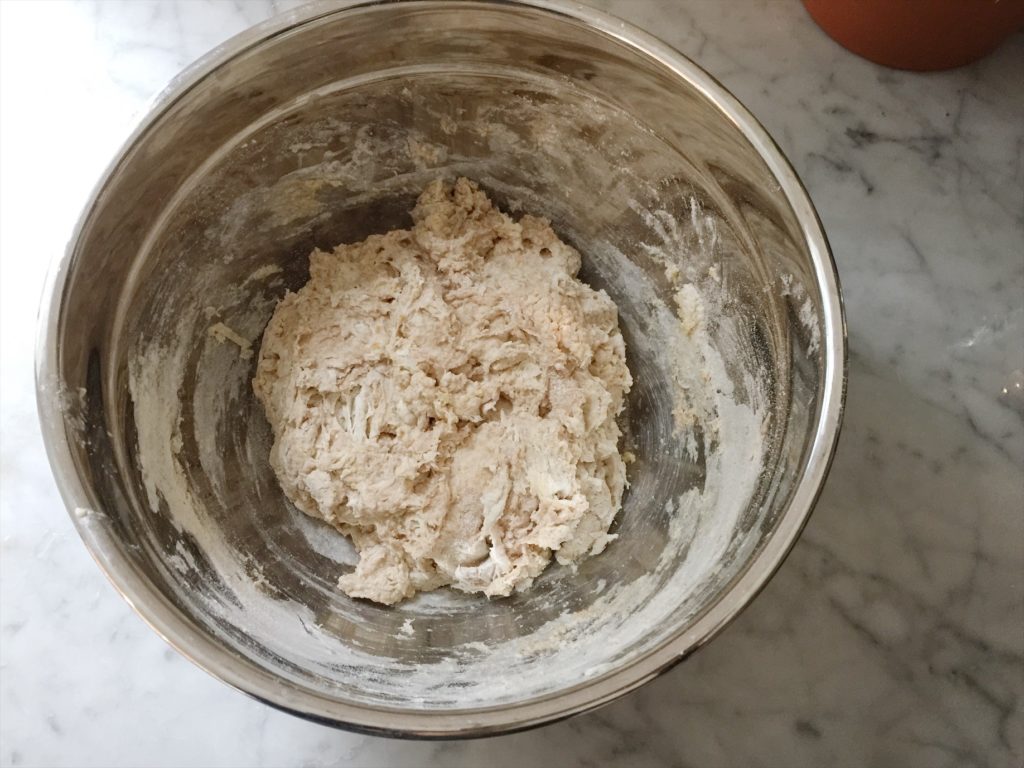
Add the flours, cornmeal and salt, and stir into a shaggy dough. Refer to photo above.
Cover with a towel and let the dough rise for about 2 hours.
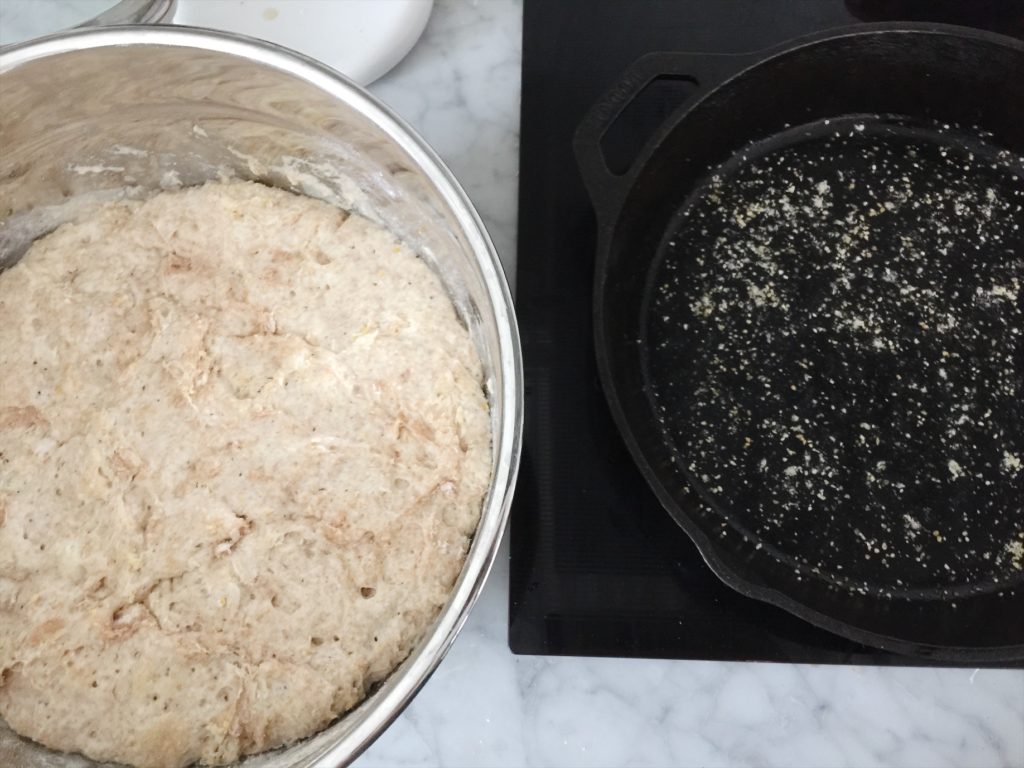
Prepare a cast iron skillet, baking sheet, or pot by sprinkling cornmeal over the surface.
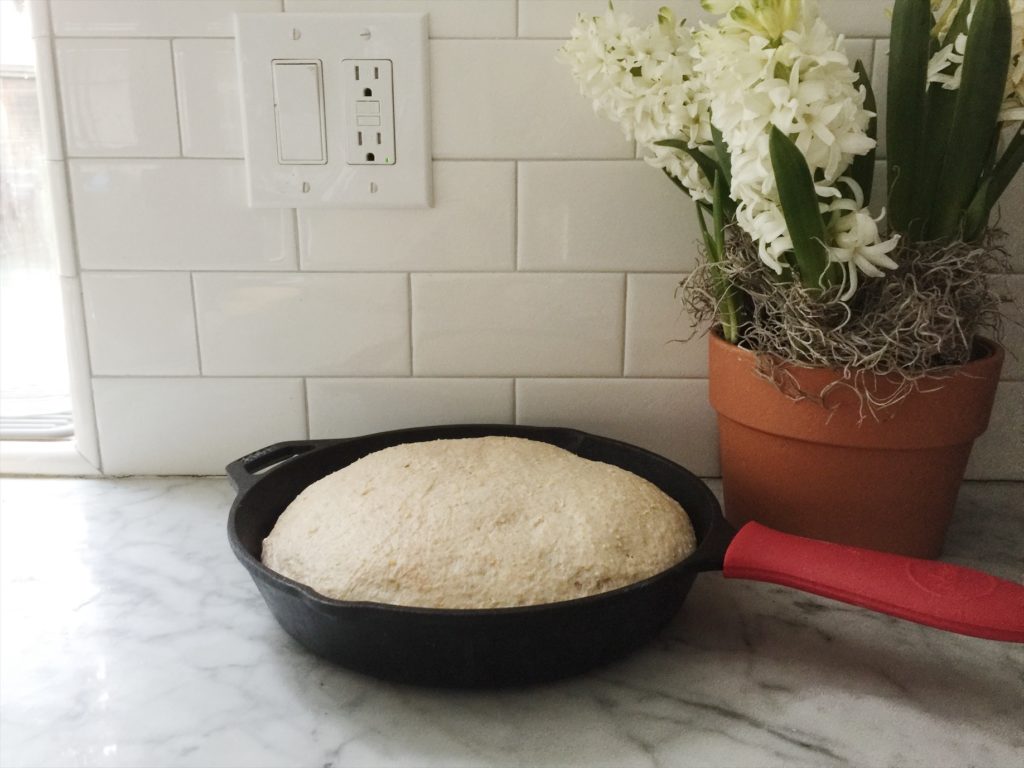
When dough has doubled in size, cover the surface with a thin layer of flour. Add some flour to your hands and pull the dough out. Shape it into a round loaf by pulling the sides down underneath it. Place the shaped dough onto whatever you’re baking it in.
Let the dough rise again for 45 min- 1 hour.
Preheat the oven to 375 degrees.
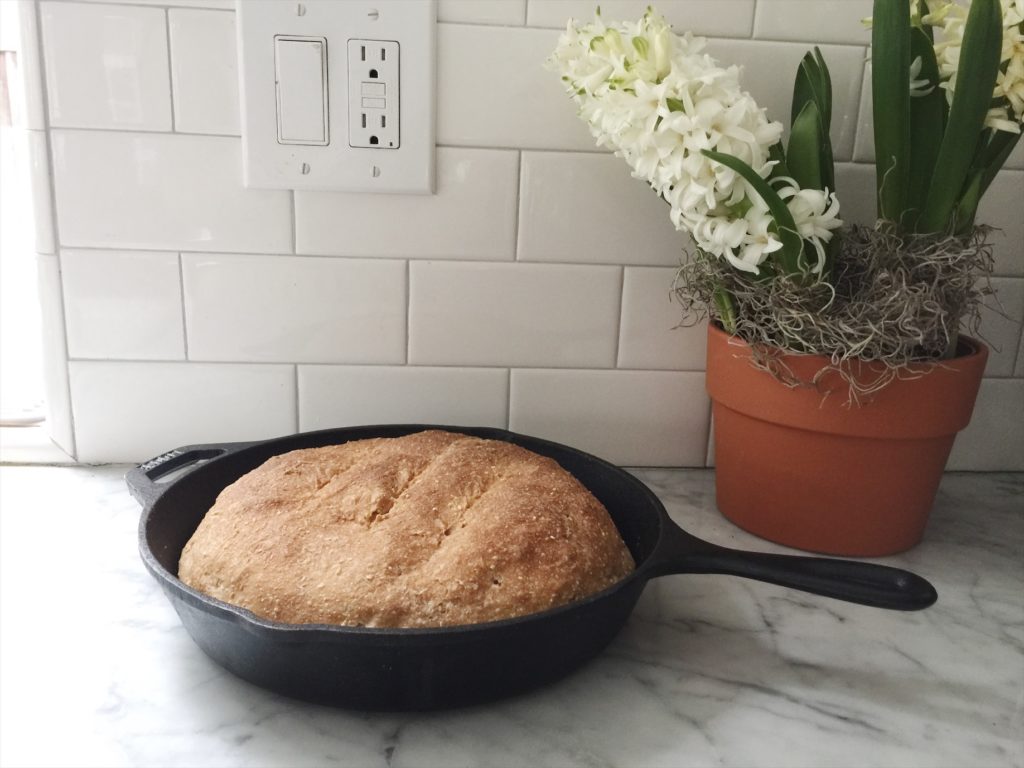
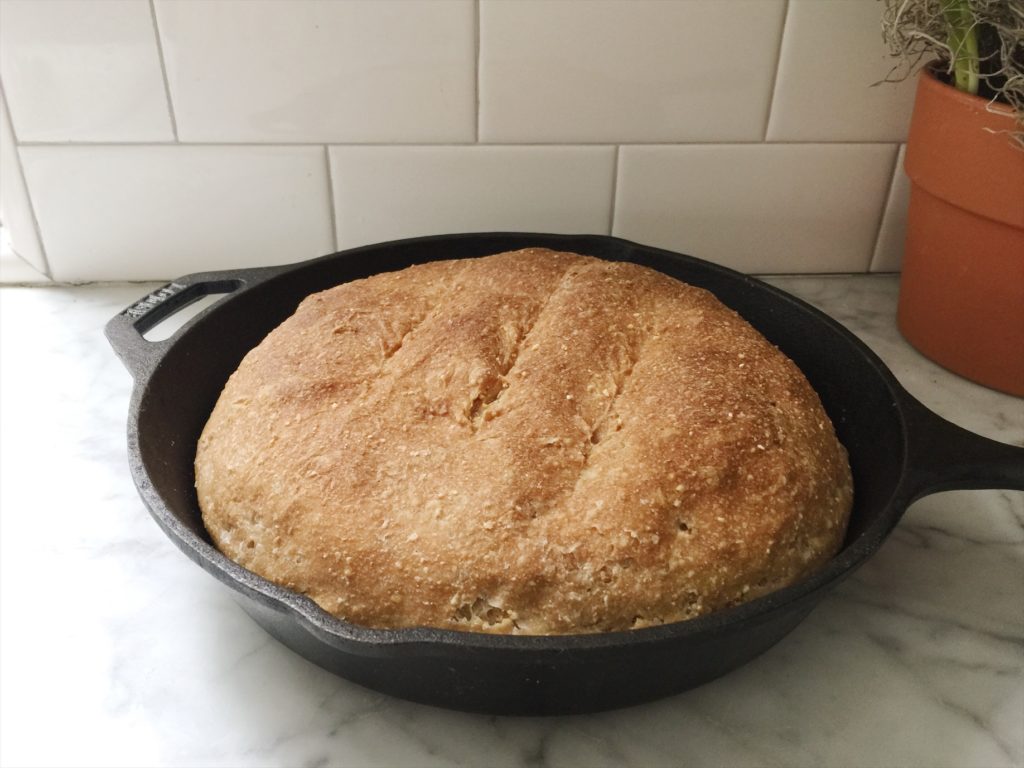
Slash the dough a few times on top with a sharp knife. Bake for 45min-1 hour, until it’s golden brown on top and cooked through. You can check it with a thermometer, it should be 190 degrees. I don’t do this last step and at 45min my bread has been fine.
Let cool and enjoy! You can store it at room temperature, but make note that freshly baked breads won’t last as long as store bought loafs with preservatives. We’ve always eaten ours within a week, but start to check it at 4-5 days .
Category musings | Tags:




What do you think?