DIY Fabric Flags
0October 16, 2012 by Sarah
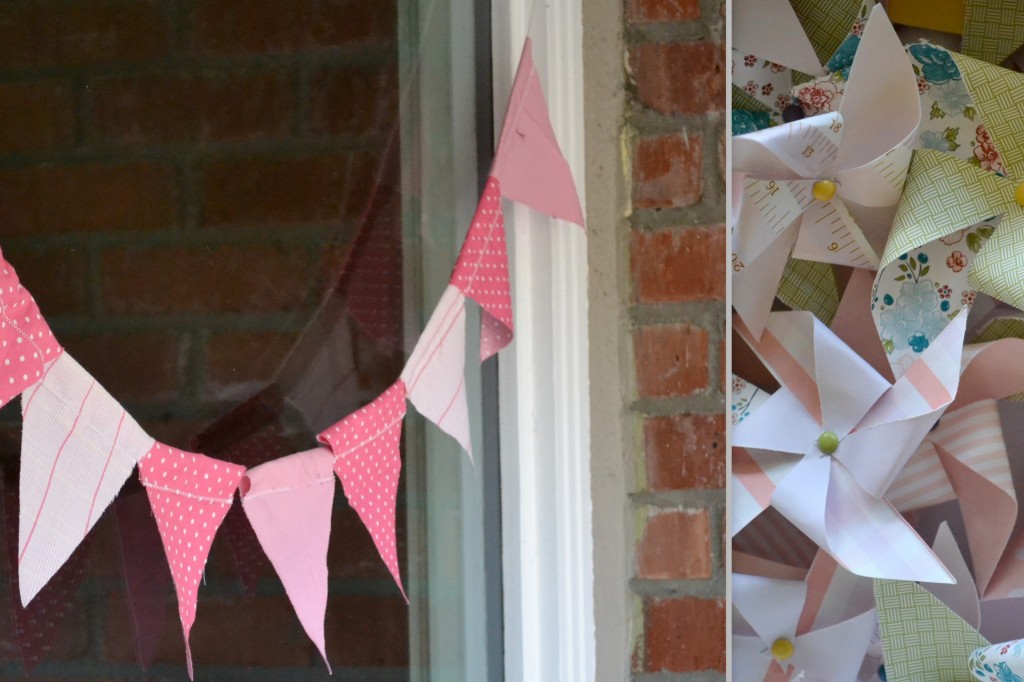
As promised, a little how-to for these super cute fabric flags that I made for Gianna’s first birthday party! Our main decorations for the big day were these flags and pinwheels. Simple and sweet.
The flags couldn’t be easier to make, but they do take a little bit of time. Time that I ended up spreading out over the course of 2-3 weeks in small pockets of free space here and there.
So what do we need?
Fabric
Piece of thin cardboard
Pen or marker
Sewing machine or a needle and thread
Twine
Large safety pin
First, pick out your fabric. The color theme for Gianna’s party was pink and green polka dots! I happened to have a lot of fabric leftover for our wedding, so I just used what I had.
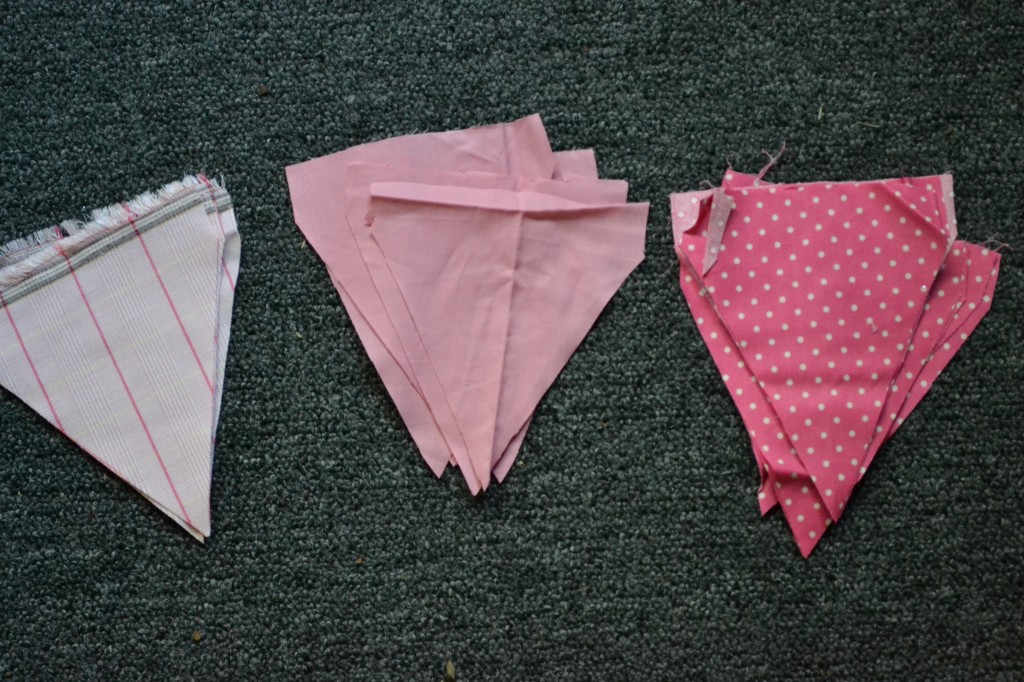 Next, make a super fancy cardboard guide out of a cereal box or whatever else you have on hand. Draw it out to the size of your liking. Cut it out and use it to mark up your fabric.
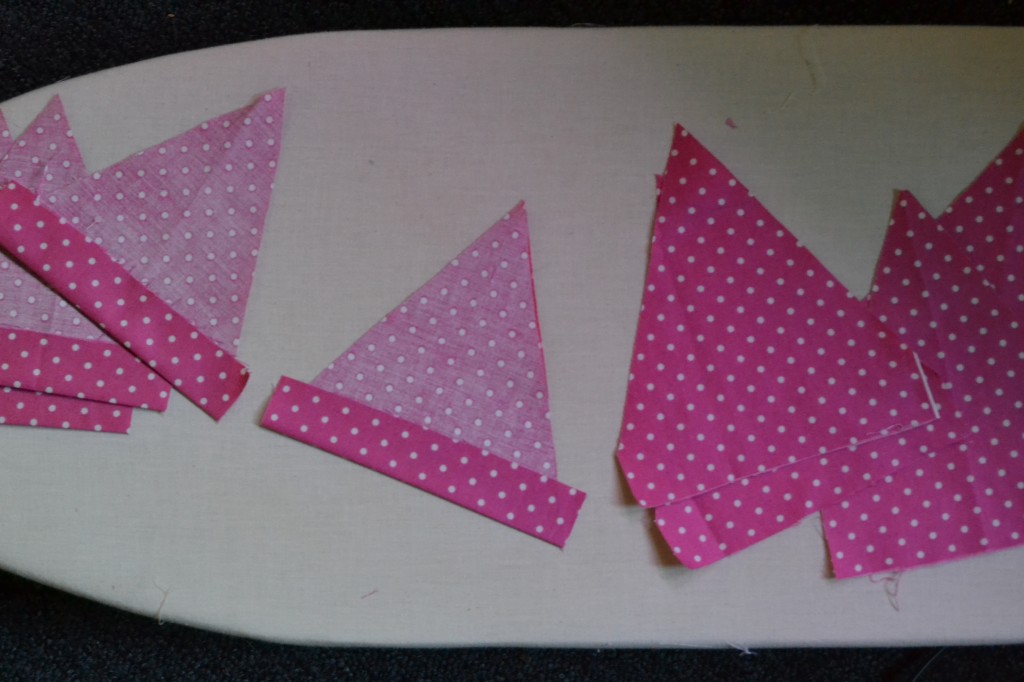
When cutting the fabric, I left a once inch straight top that I could fold over and iron down. I then used my sewing machine to sew the flaps and create a nice secure tunnel for the twine to travel through. You can also hand-sew the flags, although obviously it would take longer.
I used a zigzag stitch for a playful look. That, and I was excited to try out the stitch for the first time! Yes, I’m a newbie at sewing.
Cut any excess fabric or thread to clean the flags up.
Lastly, thread the twine through. To more easily do this, attach a safety pin to the end of the twine to give you something to grab onto. It will save you a lot of time, I promise.
After the party was over, I folded up the flags into a box to save for all our future little girl parties. I can just imagine Gianna rolling her eyes as a middles chooler when I pull them out for the ba-zillionth time…
Category around the house | Tags: DIY




What do you think?